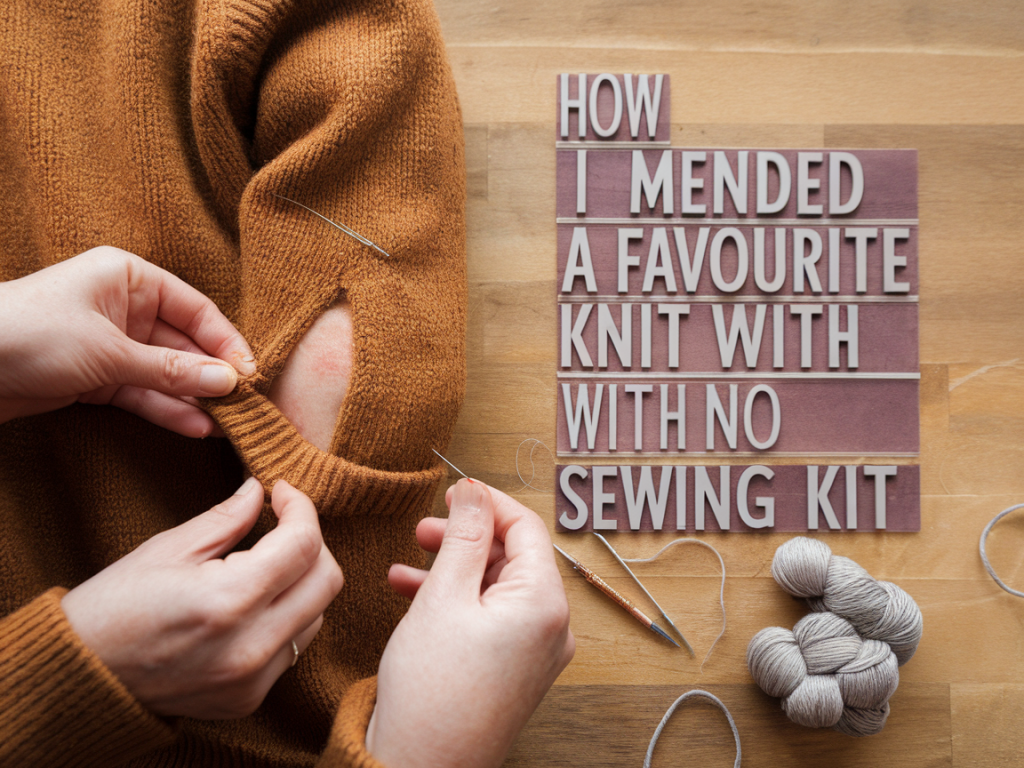
Last winter I snagged my favourite wool jumper on the edge of a kitchen shelf and felt that small panic you get when something you truly love is suddenly in danger. I didn’t have my sewing kit to hand — no darning mushroom, no tapestry needle, not even a spare button — but I didn’t want to consign the jumper to the mend pile or the back of the wardrobe. Over a cup of tea and a hot glue of improvisation, I taught myself three invisible runner techniques that saved that jumper and a few others since. None required a full sewing kit, and all are achievable with everyday household items. I’m sharing them in case you, like me, need a quick, subtle fix that keeps a beloved knit wearable (and looking like you meant it).
What you need (no sewing kit required)
Before diving into the techniques, here are the small things I usually keep in a drawer for emergency mends — none of them are a traditional sewing kit:
If you have an embroidery needle or tapestry needle, great — they make things cleaner — but I’ve done every step below without one. The point is to keep repairs tiny, close to the structure of the knit, and as invisible as possible.
The invisible ladder repair (for runs and small holes)
This is my go-to for vertical runs and elongated holes — the kind that look like a ladder. It’s tidy, discreet and holds knit structure better than simply tying a knot.
Why this works: by rebuilding the cross-threads you restore the tensile bridge between columns of stitches. Because you’re using matching yarn and working inside the knit columns, the repair disappears from a normal viewing distance.
Duplicate stitch to cover a tiny hole (no needle? use a paperclip)
Duplicate stitch is the knitter’s trick for “re-stitching” missing knit stitches on top of the existing fabric. It sits on the surface but mimics the original stitch pattern, so it’s surprisingly invisible.
Pro tip: duplicate stitch blends best with slightly thicker yarns. If your spare yarn is too fine, double it. If it’s too thick, work with single strands and smaller, neater stitches.
Fusible patch + surface tidy (for worn areas and holes near seams)
When structure is compromised — a hole at a seam, an area with thinning fibres — sometimes you need stabilisation as much as visible repair. Fusible web or lightweight iron-on interfacing gives the knit something to cling to inside, then you can tidy the surface with a few invisible stitches or even a dab of fabric glue.
Why I like this: the fusible patch stops the hole from widening and gives the fabric some body again. It’s especially useful for hems, cuffs and places that get friction.
Quick fixes and finishing touches that make repairs disappear
These small extras take a mend from “functional” to “forgotten.”
When to take it to a pro
There are times when a homemade mend will do everything you need, and times when a professional is worth the cost — think expensive cashmere, complex fair isle patterns, or holes that reveal structural damage at seams. If your jumper is a true heirloom, or the fabric is silk-blend and delicate, a skilled knitter or a tailor who specialises in knitwear can invisible-mend in ways that are hard to match on a kitchen table.
| Problem | Best DIY fix | When to see a pro |
|---|---|---|
| Vertical run | Invisible ladder repair | If the run spans a large area or involves patterned knit |
| Tiny hole | Duplicate stitch or small fusible patch | Cashmere or high-value fibres |
| Worn seam | Fusible patch + neat edge repair | Structural seam failure |
I love the small quiet pleasure of saving a favourite piece: the texture under my fingers, the hum of making do, and the relief when a jumper looks whole again. These three techniques have kept me from parting with clothes I’m not ready to lose, and they’ve made mending feel less like a chore and more like a gentle act of care. If you try any of them, remember to be patient — tension and tiny, consistent stitches are what make the repair disappear. And if you’re ever unsure, a friendly local mender is always a wonderful next step.